Git Advanced Trigger
This trigger is only available in the Smithy SaaS.
The Git Advanced trigger is the simplest way to set up a workflow if the target repositories are not in your GitHub organisation. When you add this trigger to your workflow, the git-target component is added automatically behind the scenes. The git-target parameters are then populated by the Git trigger with every run.
The trigger will target the default branch of each repo and scan all code in it.
It can target private repositories if you supply your username and SSH token.
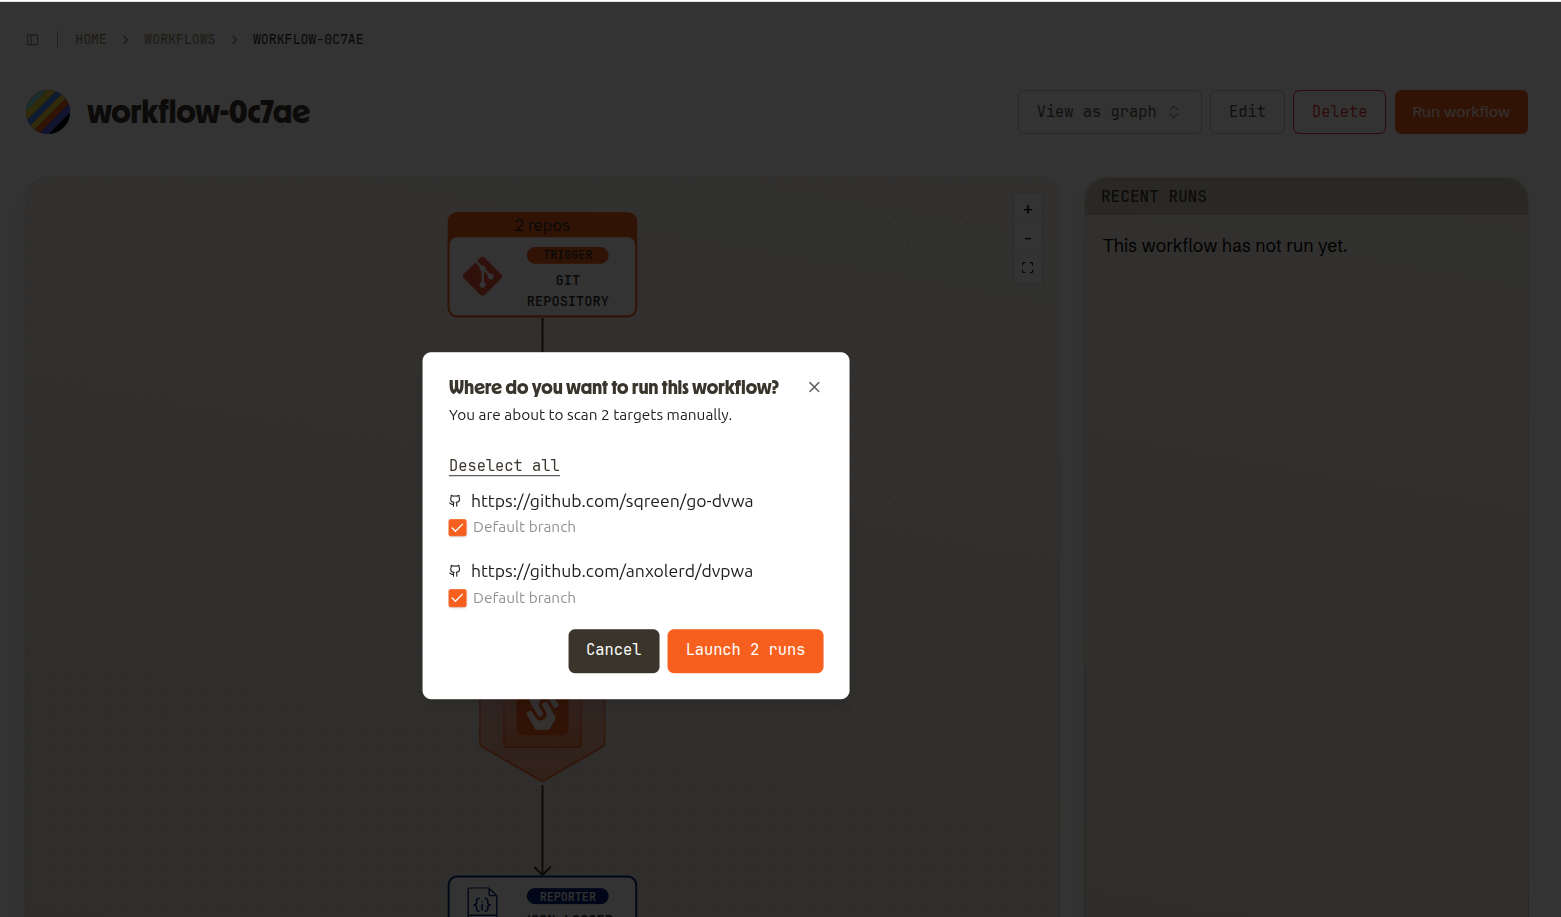
One Git trigger can target multiple repositories. If it does, each repository is a separate target and will launch a separate run.
This trigger can only be launched manually.
Global component settings
Go to the /integrations page and find the git-target. You need to set it up with the following settings:
Reference:      {{ .context.trigger.event.reference }}
Username:       {{ .context.trigger.auth.username }}
Token:          {{ .context.trigger.auth.token }}
Base reference:	{{ .context.trigger.event.target_branch }}
Repo URL:       https://{{ .context.trigger.event.host }}/{{ .context.trigger.event.organisation }}/{{ .context.trigger.event.repository }}
Getting a GIT PAT token
To get a token in GitHub:
Go to account > Settings > Developer settings > Personal Access tokens > Tokens (classic).
Create a new token that has
repo scope. Make sure you set the shortest expiration possible.
Copy the token and paste it into a new secret in the Smithy UI (Settings > Secrets). You can name it something like
MY_GITHUB_TOKEN.
When you create a new Advanced Git target, use your token with
{{ secret "MY_GITHUB_TOKEN"}}.
Bitbucket support
Targeting private git repositories on Bitbucket can be done as follows. You will need:
- your repo's URL, without any additional paths in it
- your bitbucket username. Find that in your Bitbucket account page.
- an HTML token. Follow the instructions below to get one.
To get a token for Bitbucket
- Go to you're repo's Settings > Access tokens
- Issue a new token with read permissions for the repo
- Copy the token and save it in your Smithy secrets
- In the Smithy Advanced Git Trigger, use
x-token-authas the username and the token as the password
UI Settings
Repo URL: The HTTPS or SSH URL of a git repo. You can add multiple of
these.
Username: Username on the host Git system, e.g. a github username.
Token: Classic PAT token from Github.
Running the workflow
To run a workflow with this trigger, press "Launch Workflow" on the workflow page. You will get a choice of which target repositories you want to scan. Then each selected target will launch into its own Run.
